Table of Contents
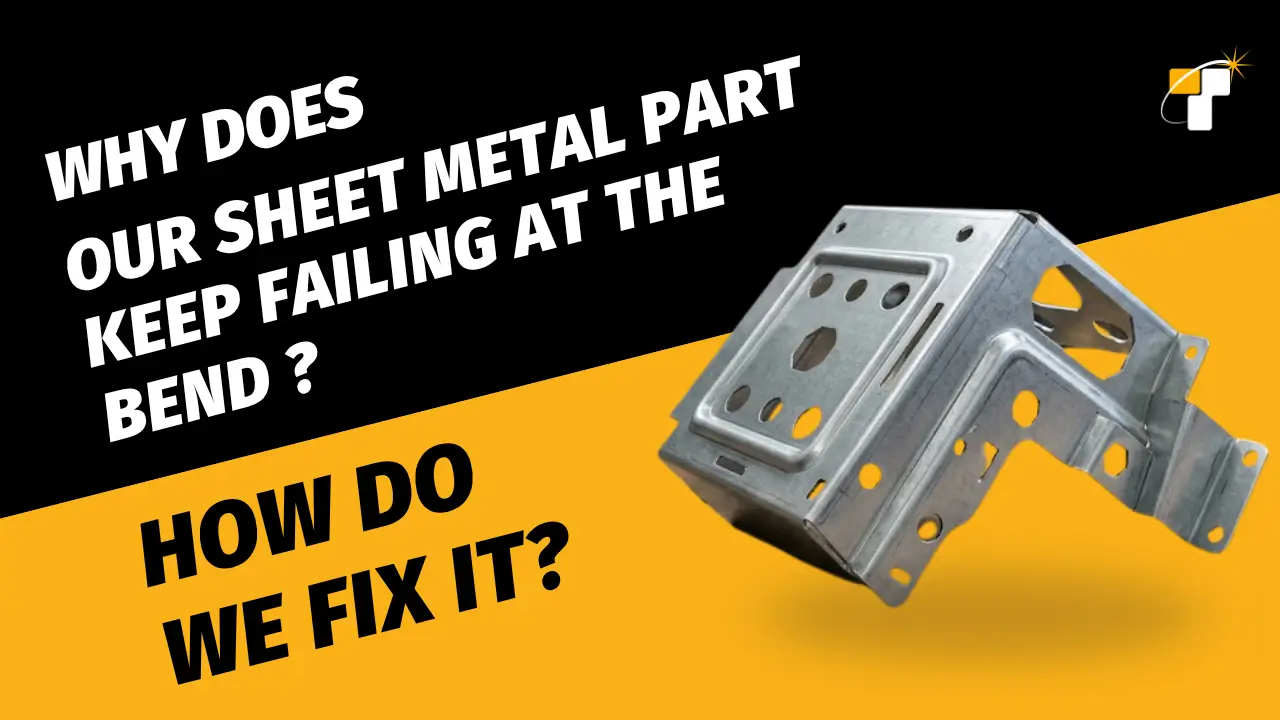
You ordered the parts. The fabricator ran the job. And now you are holding a batch of sheet metal components with cracked, distorted, or spring-back-ridden bends, and a production schedule that cannot wait.
The instinct is to blame the fabricator, the material grade, or the press brake operator. Sometimes they are at fault. But in the majority of bend failures, as reviewed by engineers, the root cause is already locked into the CAD file before the metal ever touches a tool.
This article breaks down the five most common design-side causes of sheet metal bend failures, how to diagnose them in your own files, and the specific corrections that fix each one. If you work through this checklist and the problem persists, the final section tells you when you are dealing with something that needs a formal DFM review rather than a file tweak.
Why Sheet Metal Bends Fail: The Five Design-Side Causes
Press brake bending is a well-understood, repeatable process, when the design file gives it the right inputs. The five causes below account for the large majority of bend failures that originate in the design stage.

1. Incorrect Bend Radius
Every sheet metal alloy has a minimum bend radius, expressed as a multiple of material thickness. Specify a tighter radius than the material can tolerate, and you are mechanically forcing the outer fiber of the metal beyond its elongation limit, and it cracks.
As a general starting point:
- Mild steel (CRS, 1018): minimum bend radius of 0.5× to 1× material thickness
- Stainless steel (304): minimum 1× to 2× material thickness — harder, lower ductility
- Aluminum 5052-H32: minimum 1× to 1.5× material thickness
- Aluminum 6061-T6: minimum 3× to 4× material thickness — deceptively difficult to bend
If your CAD model specifies a sharp inside radius, especially on stainless or hard-temper aluminum, that is your first check.
ASME Y14.5-2018 governs the callout of bend radius on engineering drawings. Minimum bend radius data per alloy is published by the Aluminum Association (AA) and Steel Technologies.
2. Wrong Grain Direction Relative to the Bend Line
Sheet metal has a grain structure that runs parallel to the rolling direction. Bending perpendicular to the grain (across the grain) is significantly easier on the material and allows tighter radii. Bending parallel to the grain (with the grain) puts stress along the same axis as the metal’s elongation limit, increasing crack risk, particularly on high-strength alloys.
In a flat pattern layout, grain direction is rarely called out on detail drawings. If your fabricator is nesting parts for material efficiency without specifying grain orientation constraints, parallel-to-grain bends may appear on critical features.
The fix: Add a grain direction arrow to your flat pattern drawing for any bends on alloys above 40 ksi yield strength. On multi-bend parts, this sometimes means accepting a less efficient nest to protect grain orientation on the critical bend.
3. Insufficient Bend Relief
Bend relief is the small notch or cutout placed at the ends of a bend line where it meets an adjacent edge or feature. Without it, material is forced to tear during bending to relieve the stress, and it does, usually at the worst possible location.
Minimum bend relief dimensions (as a baseline, verify against your fabricator’s tooling):
| Material Thickness | Min. Relief Width | Min. Relief Depth |
| Up to 0.060″ | Bend radius + 1/32″ | Bend radius + material thickness |
| 0.060″ – 0.125″ | Bend radius + 1/16″ | Bend radius + material thickness |
| 0.125″ – 0.250″ | Bend radius + 3/32″ | Bend radius + material thickness |
4. K-Factor Miscalculation in the Flat Pattern
The K-factor defines where the neutral axis sits within the material during bending, the theoretical line at which the metal is neither stretched nor compressed. It directly controls the bend deduction and, therefore, the accuracy of your flat pattern dimensions.
A wrong K-factor does not cause the part to crack at the bend, but it causes the part to come back at the wrong overall dimension after bending. Features that need to align with mating components end up out of position. This is frequently misdiagnosed as a fabricator error.
Default K-factor values by material and process:
- K = 0.33 (sharp) to 0.50 (radiused)
- Air bending, stainless steel: K = 0.50
- Air bending, aluminum: K = 0.40 to 0.50 depending on temper
- Bottom bending / coining: K = 0.50 (neutral axis at true center)
Most CAD packages (SolidWorks Sheet Metal, Creo, Inventor) allow you to set the K-factor per material. If you are using the software’s default and your material or process differs, your flat pattern is wrong before you export the DXF.
Related Reading: CAD Design for Sheet Metal: How It Helps Manufacturers, Learn how precision modeling reduces material waste, speeds up assembly, and ensures first-time-right fabrication.
Ask your fabricator for their press brake tonnage charts and tooling geometry. K-factor is not a fixed constant, it varies with punch tip radius, die opening width, and material. A fabricator running a sharp punch with a narrow die will produce a different result than a radiused punch with a wide die, even on identical material.
5. Features Placed Too Close to the Bend Line
Holes, slots, and cutouts placed too close to a bend line will distort during forming. The bending force redistributes into the nearby material, pulling features out of round or shifting them from their nominal position.
The minimum recommended distance from a hole edge to the nearest bend line:
- Hole diameter up to 0.250″: minimum distance = 2× material thickness + bend radius
- Hole diameter above 0.250″: minimum distance = 2.5× material thickness + bend radius
- Slots perpendicular to the bend line: add 50% to the above distances
If your design constraints require features closer than this, the solution is either to move the bend line, redesign the feature as a post-bend secondary operation, or add a formed feature (lance, dimple) to relieve local stress.
How to Diagnose the Cause in Your Own Design
Before you go back to your fabricator, run through this diagnostic sequence in your CAD model. It takes 20–30 minutes and will tell you whether the failure source is in the file.

Request the actual DXF or flat pattern file from your fabricator and compare it to your exported flat pattern. If they modified the file before cutting, the delta between the two files often shows exactly where the discrepancy originated.
The Fixes: Correcting Each Cause in Your CAD Model
Fixing Bend Radius
In SolidWorks Sheet Metal: edit the Base Flange or individual bend feature and change the bend radius value. Do not override it at the drawing level; fix it at the feature level so the flat pattern updates automatically.
In Inventor Sheet Metal: open the Sheet Metal Defaults and confirm the bend radius rule matches your material. Then edit the individual Face or Contour Flange feature and set the Bend Radius to the correct value. Fix it at the feature level, not at the drawing annotation, so the flat pattern updates automatically.
If your design cannot accommodate the minimum radius due to a mating constraint, consult your fabricator about coin bending or bottom bending. These processes can achieve tighter radii than air bending, but require higher tonnage and specific tooling.
Fixing Grain Direction
Add a grain direction arrow symbol to your flat pattern drawing. In SolidWorks, insert a note with a direction arrow in the flat pattern drawing view and specify: “GRAIN DIRECTION — ORIENT AS SHOWN” with the arrow parallel to the rolling direction you require. In Inventor, add a custom note with a leader line in the flat pattern drawing view to communicate the same requirement to the fabricator.
For multi-bend parts where grain direction conflicts across bends, prioritize grain orientation on the bend that has the tightest radius relative to the alloy minimum.
Fixing Bend Relief
In SolidWorks Sheet Metal: use the “Bend Relief” option within the edge flange or base flange feature. Set relief type to “Rectangle” for standard applications. Set the width and depth to meet the minimum values in the table above for your material thickness. In Inventor Sheet Metal: open the Contour Flange or Face feature dialog and locate the Bend Relief section. Set the relief shape to “Straight” and enter the width and depth values to match the minimum dimensions for your material thickness.
Alternatively, model the relief as a cut feature in the flat pattern before the bend feature. This gives you full geometric control but requires a manual update if the material thickness changes.
Fixing K-Factor
In SolidWorks Sheet Metal: go to Sheet Metal → Gauge Table or edit the Sheet Metal feature and change the “Bend Allowance” method from the default to “K-Factor.” Enter the correct value for your material and process. In Inventor Sheet Metal: open Sheet Metal Defaults → Unfold Rule, change the method from “Bend Table” or “Linear” to “K-Factor,” and enter the correct value. This updates all flat pattern calculations globally for that part file.
After changing the K-factor, your flat pattern dimensions will update. Check that the overall developed length still meets your blank size constraints before re-exporting the DXF.
Fixing Feature-to-Bend Clearance
This is the most constrained fix because it often affects the functional geometry. Your options in priority order:
- Move the feature away from the bend line to meet the minimum distance requirement, preferred if the feature position has any tolerance
- Move the bend line sometimes possible if the flanged face has a dimensional tolerance
- Converting the near-bend feature to a post-bend secondary operation (drill after forming) adds a manufacturing step but eliminates the distortion risk
- Add a stress-relief notch between the feature and the bend line. This works for slots and elongated holes; consult your fabricator for geometry
When Is This Outside the Scope of a File Fix?
The diagnostic and correction steps above cover the most common design-side failures. However, there are situations where the issue runs deeper than a file correction can address:
- Multiple alloys showing the same failure pattern suggest a systematic DFM process gap, not an individual part error
- Correct radius, correct relief, correct K-factor, but parts still fail, pointing to material certification issues, fabricator process variation, or an interaction effect between features that requires FEA to predict
- Tight-tolerance assemblies where even corrected parts are borderline require a tolerance stack-up analysis across the full assembly, not just the individual part
- New material or process being qualified for the first time requires coupon testing and process FMEA, not just CAD review
- High-volume production where scrap rate is above 2–3%, despite correct file fabricator process audit and SPC review, is needed alongside design review
In these cases, a structured DFM review where an engineer examines the full design intent, material specification, tolerancing scheme, and fabrication process together will identify what individual file checks miss.
If you have worked through every item in the diagnostic checklist above and the failure is still occurring, the answer is not another iteration on the same file. It is a fresh pair of engineering eyes on the full system — design, material, and process together.
Key Takeaways
Sheet metal bend failures are rarely random. The five design-side causes, incorrect bend radius, wrong grain direction, missing bend relief, K-factor error, and features too close to the bend line, account for the large majority of failures that originate before the part reaches the press brake.
Running the seven-step diagnostic checklist against your CAD model before your next fabrication run will either identify the fix or rule out the design as the source, which is itself a useful result if the problem is actually in the fabrication process.
The corrections for each cause are specific and implementable in any major sheet metal CAD package. None of them requires a ground-up redesign unless the geometry constraints are fundamentally incompatible with the material and process.
Free DFM File Review
If you have worked through this checklist and the problem persists — or if you want a second set of engineering eyes on your sheet metal file before committing to a production run — the team at Tesla Mechanical Designs offers a free DFM file review. We will identify specific design issues, reference the relevant standards, and give you a clear set of corrections.
Contact Us